
I've slowly become aware of how little people know about what goes on after a photoshoot is complete. Why I haven't blogged about this before now is maybe due to the fact that I was not aware that many clients and other people who do not take photos on a professional scale realize just how much goes into editing images after they have been taken. Now of course, this does not apply to every client's photos or every style of image. There have been many images I have taken that are just exactly how I want them coming straight off of the camera. We call these images SOOC. I have had many that I simply slap a watermark on and upload to my website or facebook page. The image below had no post-processing. This is what the image looked like exactly as I took it, the only addition was my watermark.
However, these are typically not pictures of people, and if it is, they are rare. Most times, one image takes as long as half an hour to an hour just to get the quality and look of what I want in the final image.
You have to understand though, most photographers do not like sharing their SOOC images for a multitude of reasons: their images are low to bad quality and they rely on an editing software maybe more than they should, the product they offer is one that is more prone to editing (which is okay if that is what the client wants or likes), they do not want to give away their editing techniques and secrets, or to dissuade unprofessionals from trying to copy or imitate their work. I'm sure there are other reasons, but that's really not the point of my blog today.
The image below is one that I found online (NOTE: this image is not mine. I do not own the copyrights to it). The image can be found at: http://www.bloomandgrowphotography.com/2011/08/bloom-grow-actions.html
This image is of a newborn, which fyi- takes a TON of editing just because a newborn's skin is typically so rough, pink, or transparent. You'll notice the lighting has changed, as well as the baby's skin. Also, it seems the photographer has edited out part of the top right image, which can also be time-consuming if done properly.
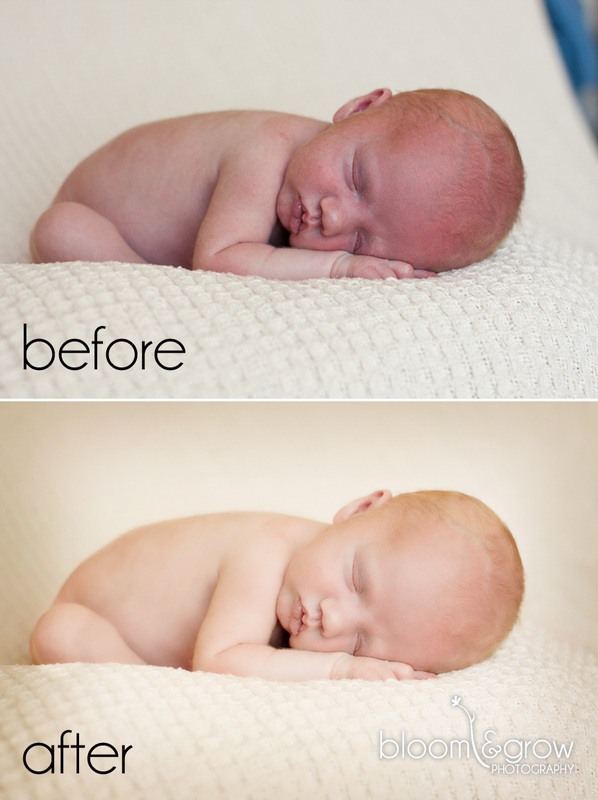
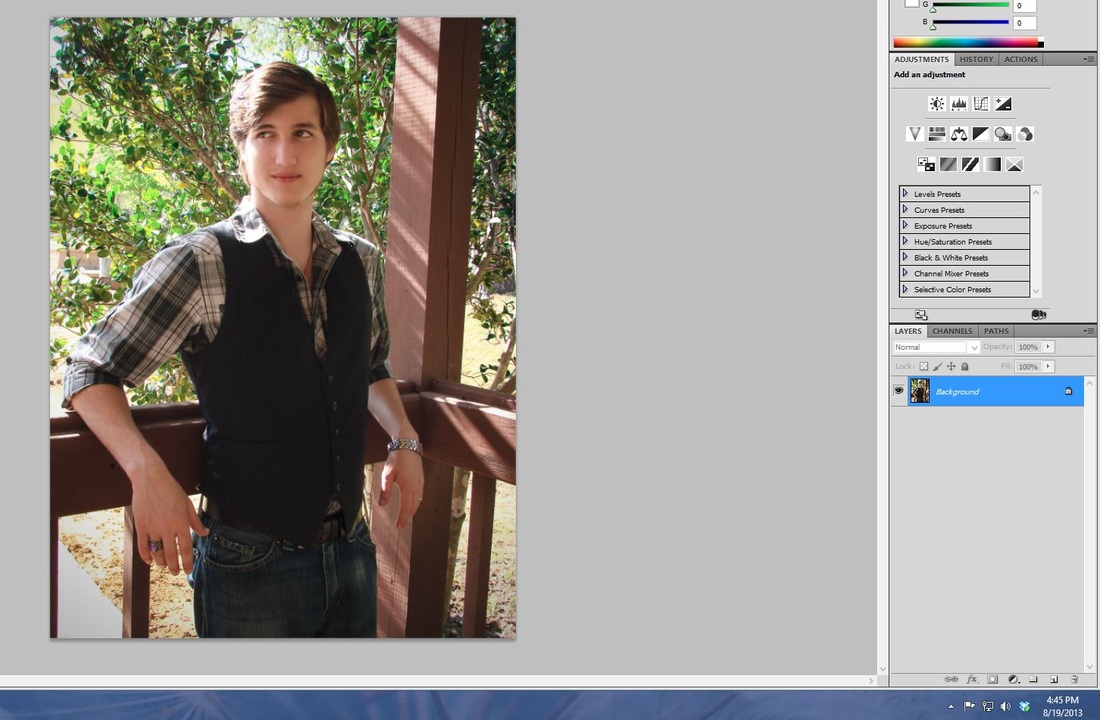
To illustrate this better (and since this IS a photography website and most of you like to see photos) I have recreated some of the steps I go through to show you just how I get to this process. I'd upload a video, but alas... my new computer does not have the software yet required to record all my steps. So screenshots will have to suffice. For my purpose, I'm going to go through and edit one of the images that I feel needs a much bigger change. The end result will be more dramatic so that you can tell what I am doing; however, this does not necessarily mean that it takes more or less time. It just means I am exaggerating my steps a bit more so that they are more noticeable.
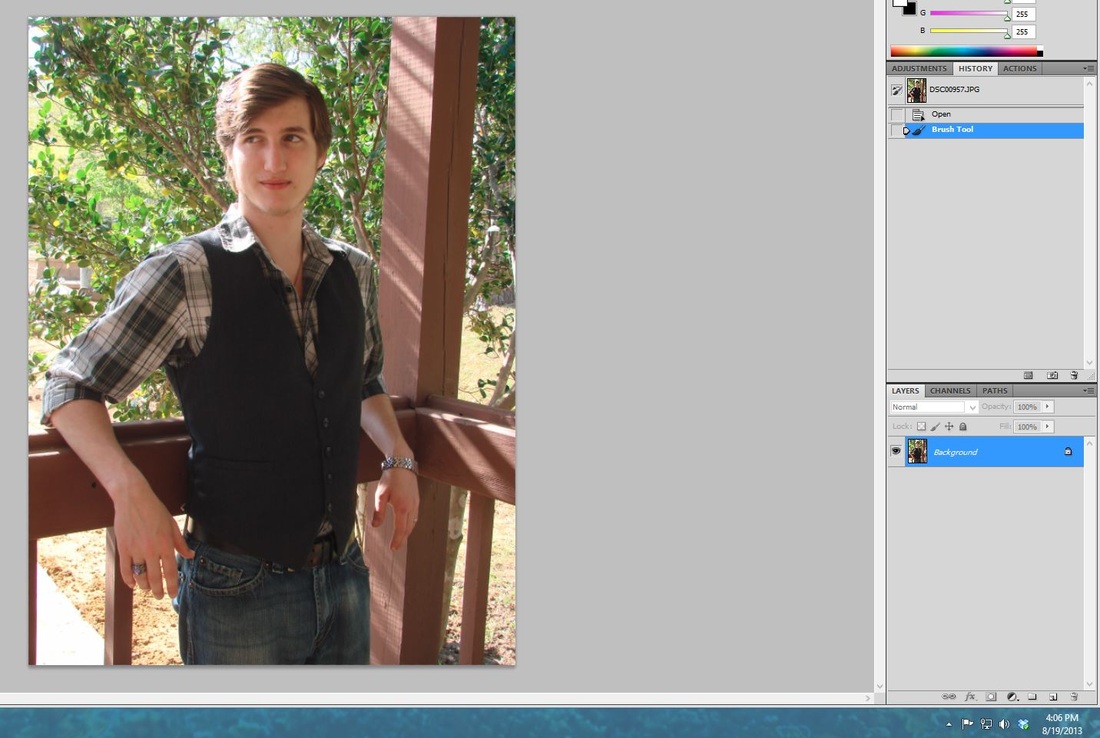
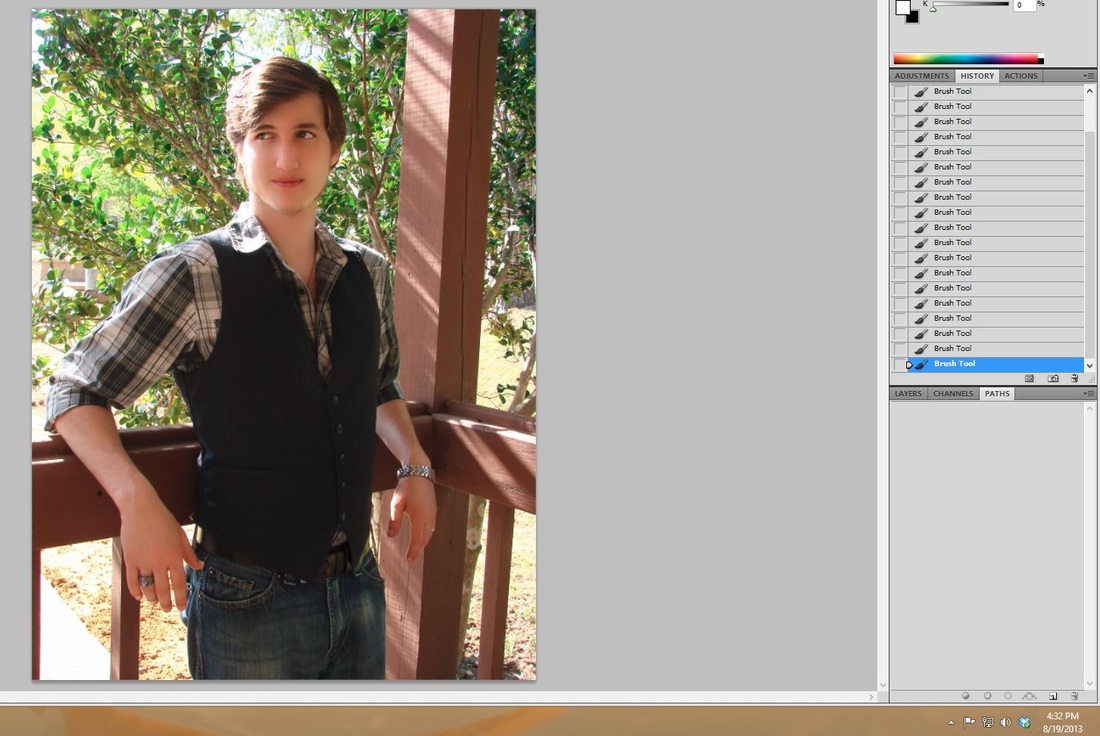
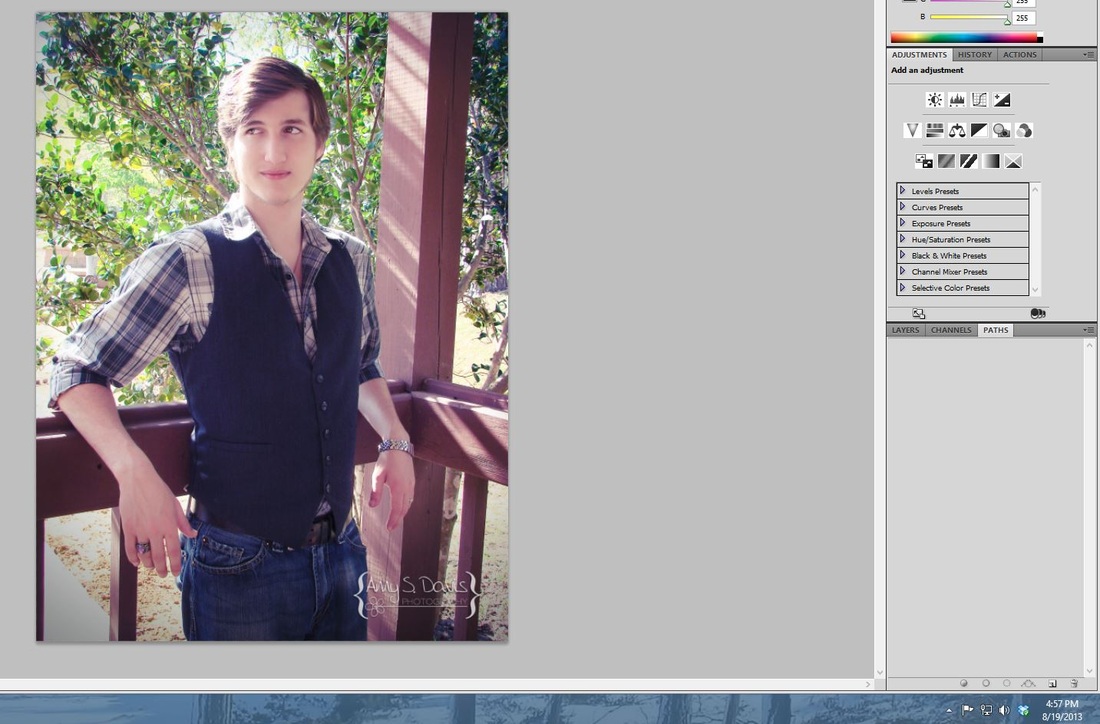
My first step is to decide how I want the image to look... black and white or a more blueish hue? I don't have to decide yet, just have a goal to work towards. I want something that will pull the eye to the model, particularly his eyes (or maybe his senior ring since this was a senior portrait). I have cropped the image so that you can see the timestamp on each. That gives you a general idea of how long it takes me between each step. You can click on each image to enlarge it.
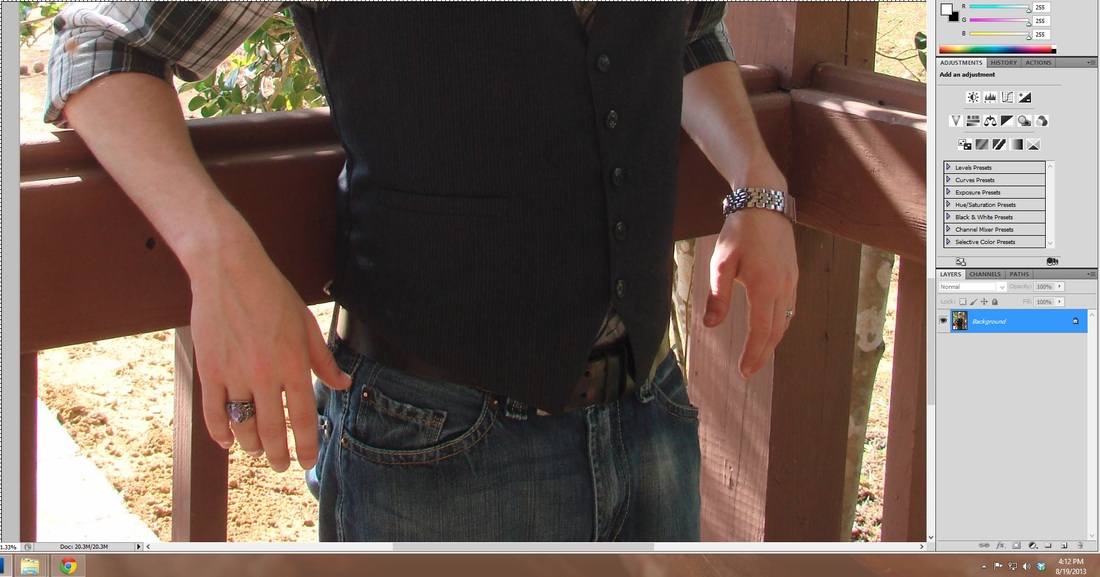
I noticed that he had a lot of acne (as teenagers tend to have) and so I went through and blended them into his natural skin tone. This is the kind of thing I mean when I say post-processing. I typically don't cover up moles or freckles unless specifically asked to simply because they make a person unique. I also happened to notice that he had a bad sore on his left hand. I went ahead and edited that as well.
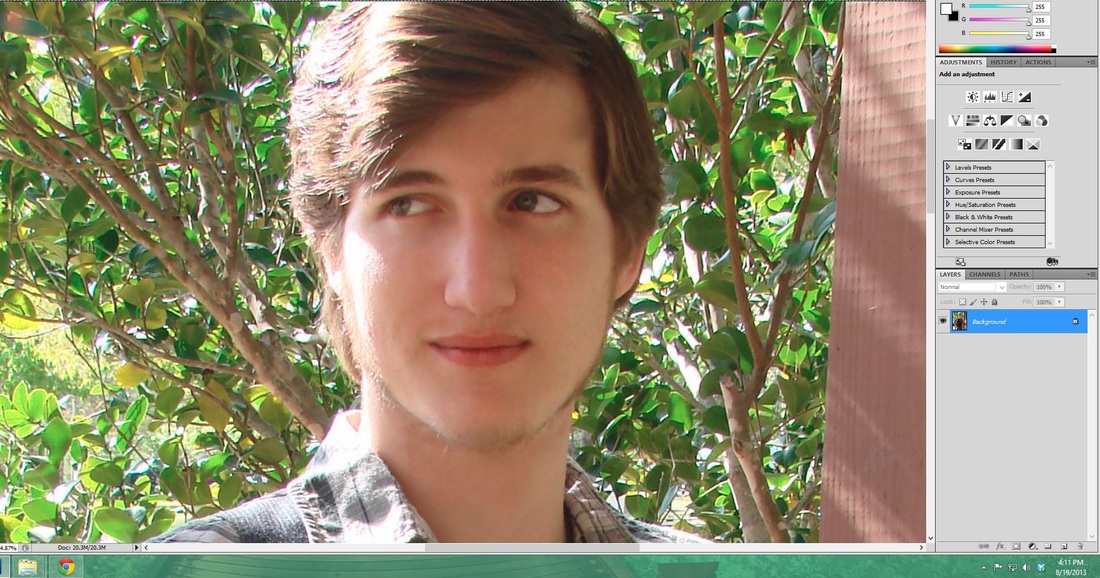
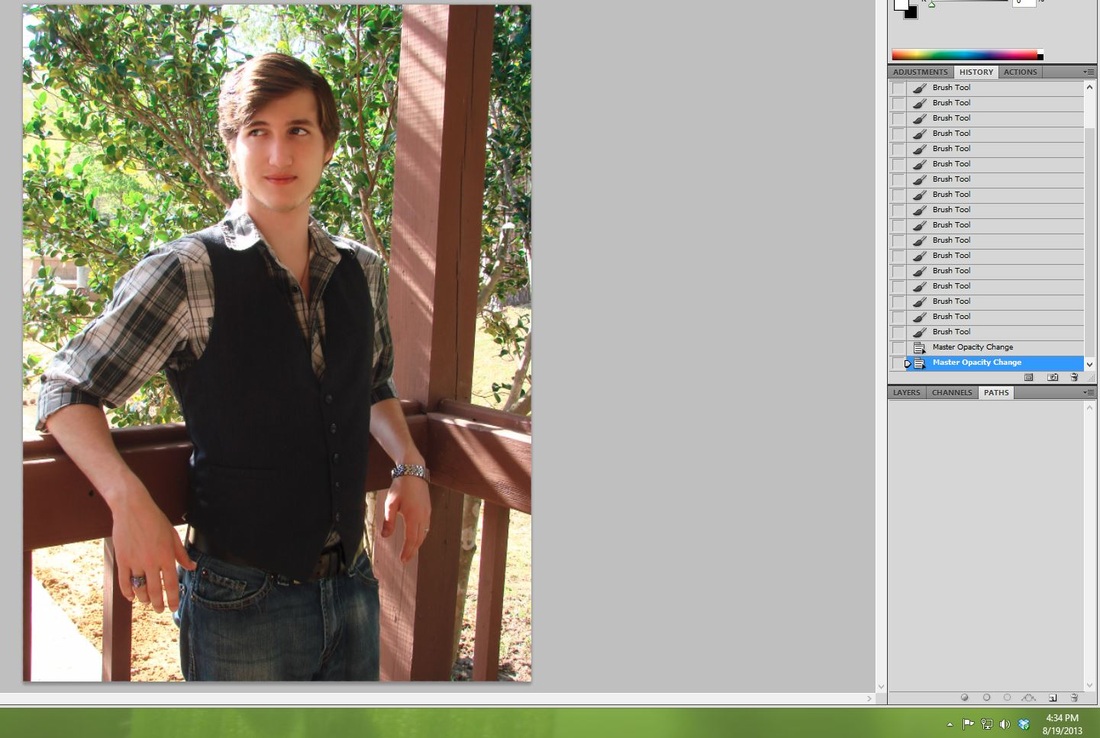
I went ahead and checked the rest of his skin for any noticeable blemishes. I have to stay zoomed in so that I don't miss it, so this takes time.
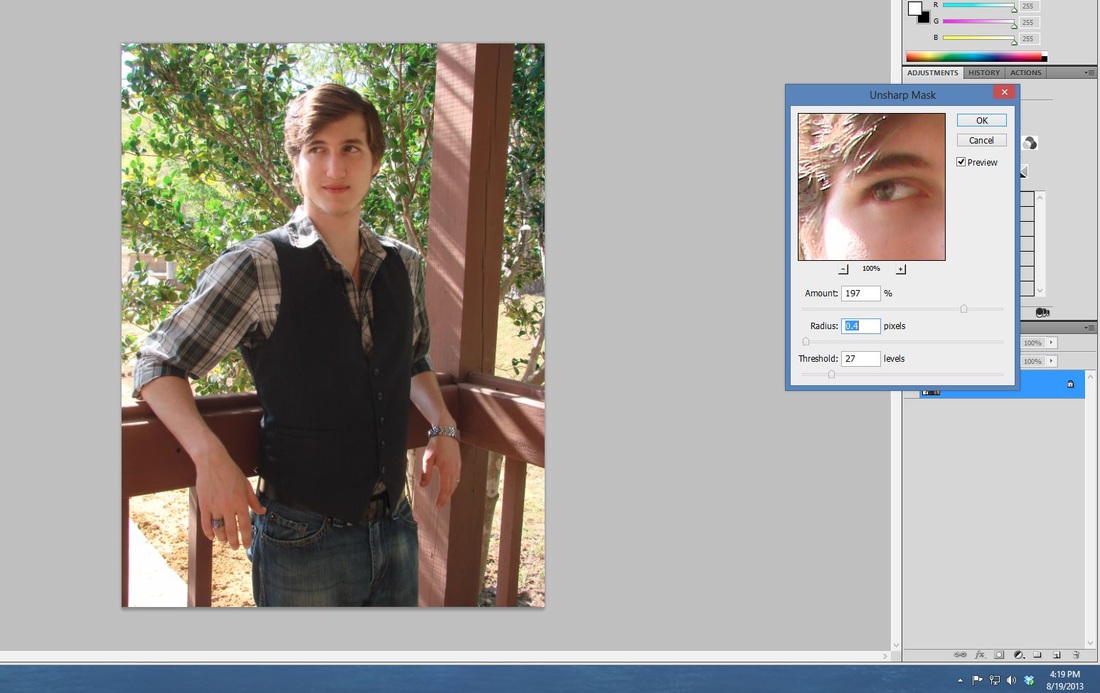
After that I wanted to sharpen the image because it looked a little fuzzy on my screen.
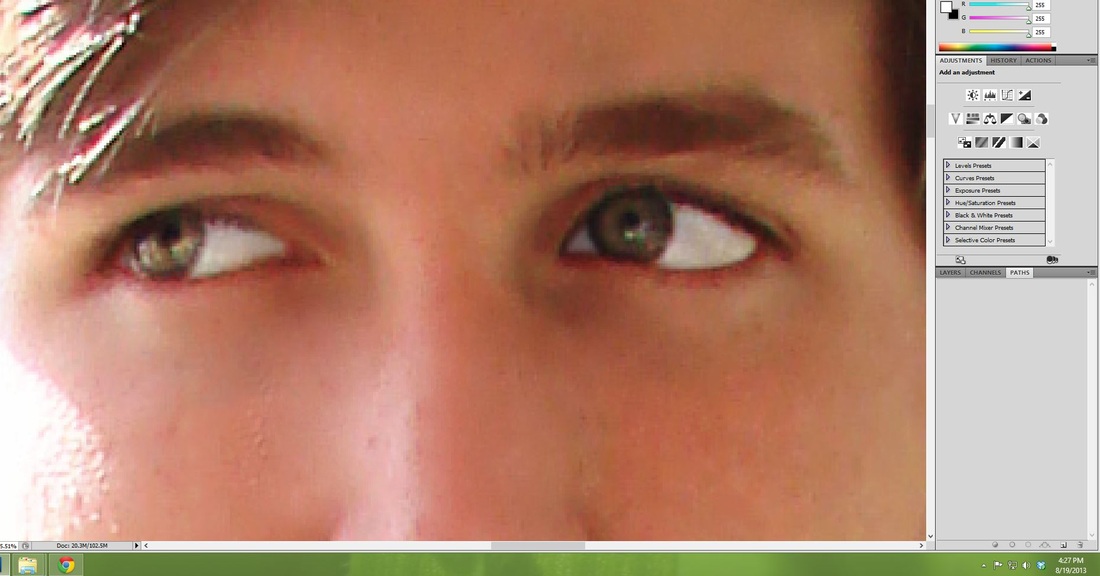
My next step is to go through and touch up his eyes. This is before I adjusted the opacity so that you can really tell what I'm doing. The whites of his eyes will not be quite as red as they were and you will be able to see the color of his eyes a little better. Many times I don't have to do this step, but for this image, I felt it needed it.
Next I need to even out his skin color a little better, getting rid of the dark circles below his eyes and any other blemishes I may have missed. Yes, I know he looks plastic, this is after-all, before I have adjusted the opacity.
As you can see, he now has his skin looking a little more realistic and a little less plastic.
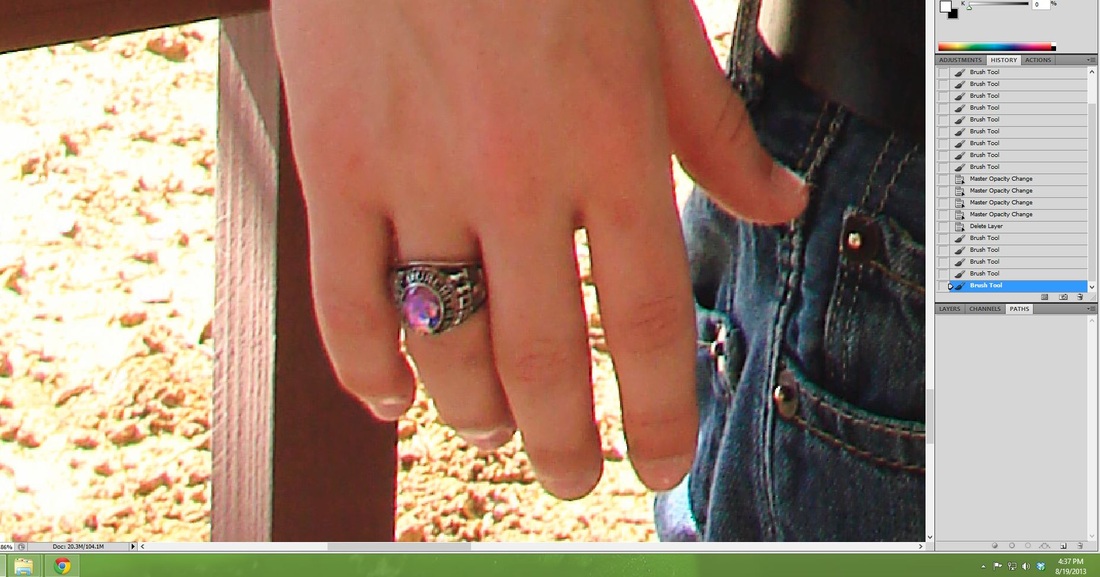
Remember I mentioned his senior ring? I want to make that pop a little more and be noticeable to the eye as well, so I'm going to pull out the color just a little. It seems intense here, but when I scroll back out, it won't be as extreme.
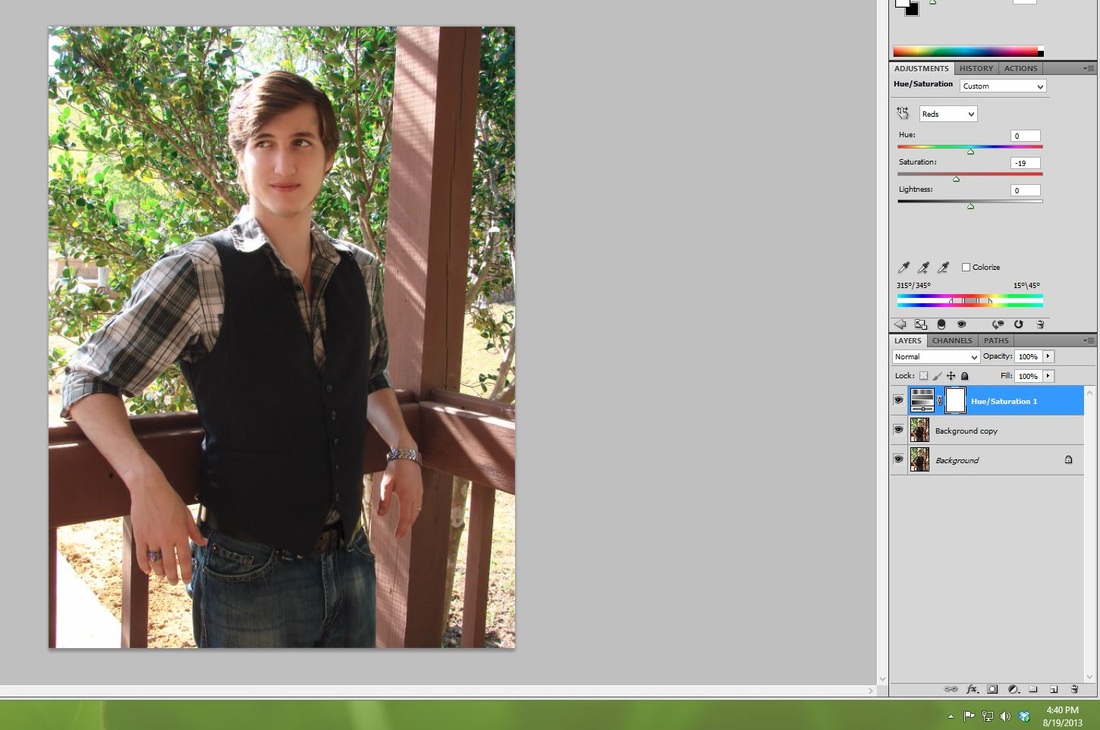
I also want to pull the red out of this image some. It's not the color tone that I like for this overall look.
I wanted to play with the shadows some as well and really pull the focus towards the center of the image. I haven't exaggerated it here just because it looks so dark and with low quality images, it's hard to depict.
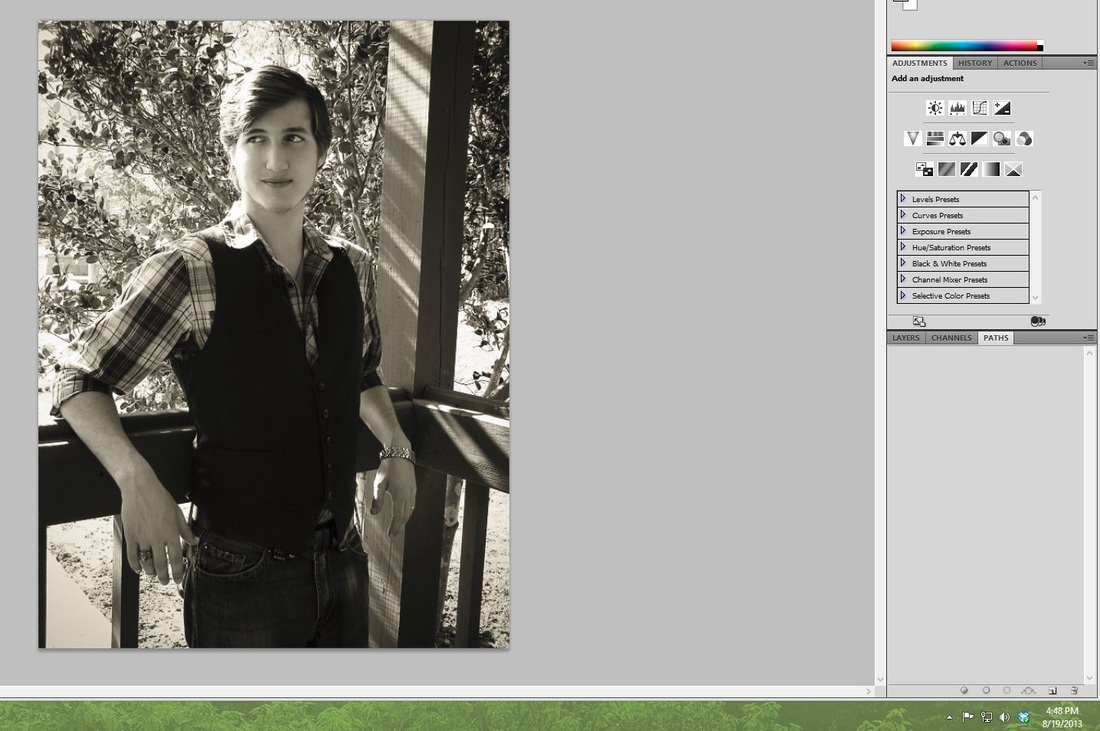
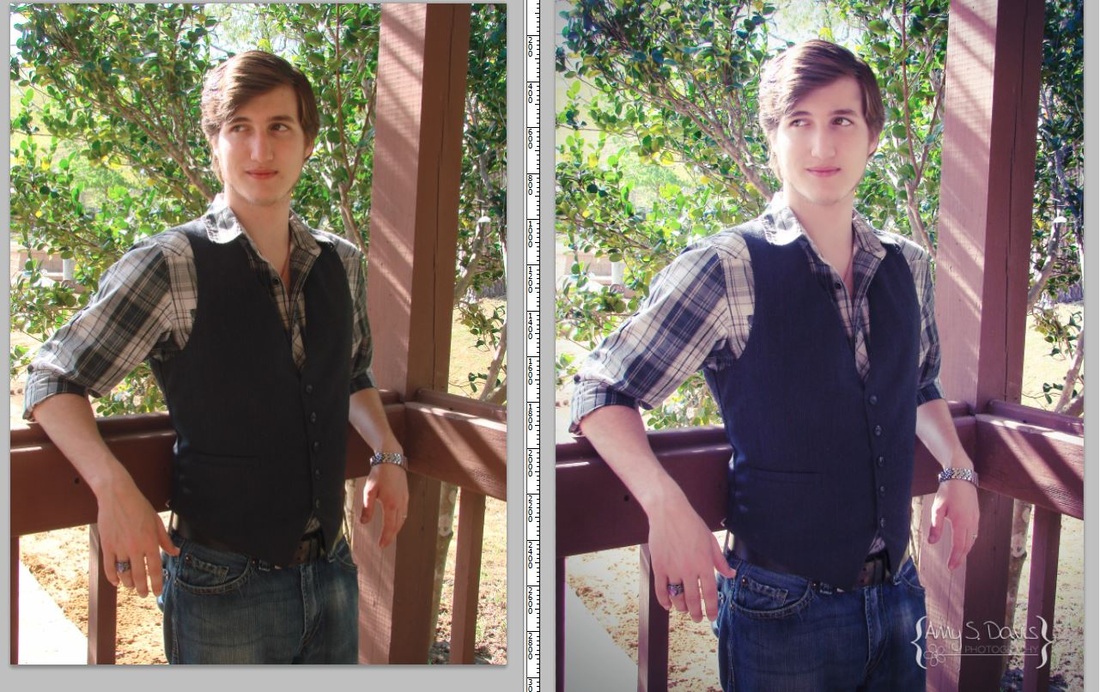
Now for the experimental part. Some images I can look at instantly and tell you what would look best. Others, I have to basically "try-on" different looks to see which I like best. I went with a sepia look first. However, with all the light and shadow behind him, I'm not sure if this is the best way to go with this photo. Let's try something different.
This may be the way to go, but if it is then I'm going to need to dial down some of the hues in this photo.
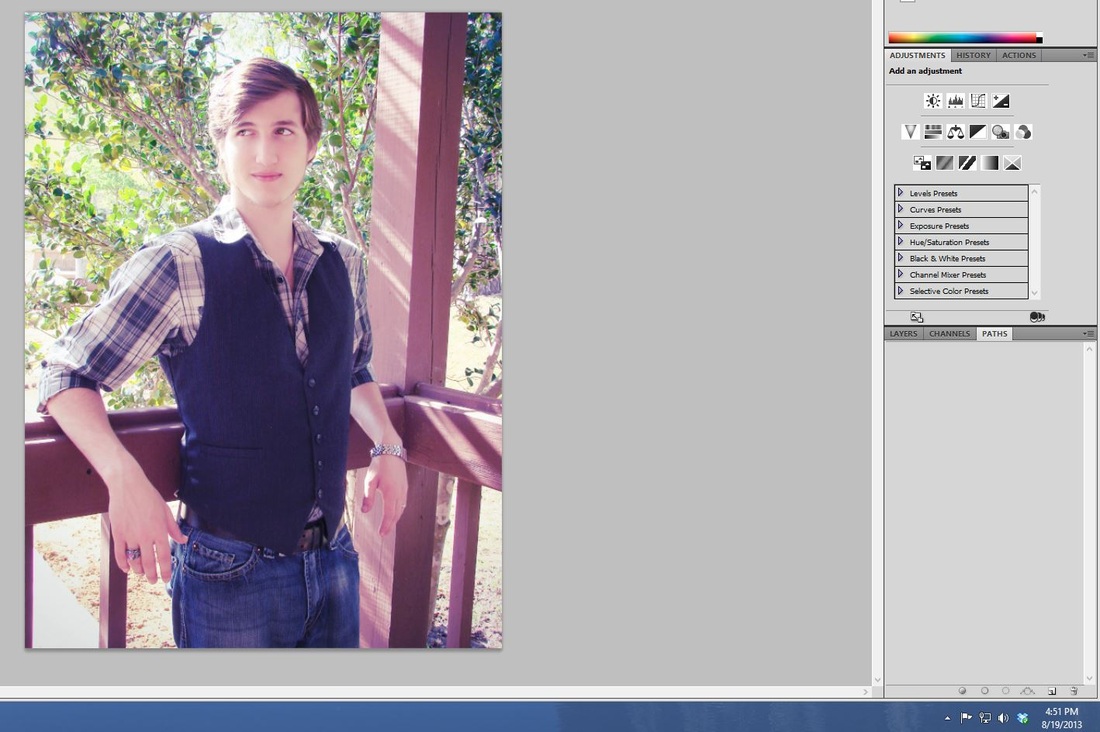
Yes, I like this look much better. However, there is still the problem of focusing the image in some more. After editing the hue, I realize I still need to add a little more shadow around the edges to help pull the eye towards the middle again. I don't want to overdo it though, or it will look too edited. I like my photos to have a much more natural look and not have black frames.
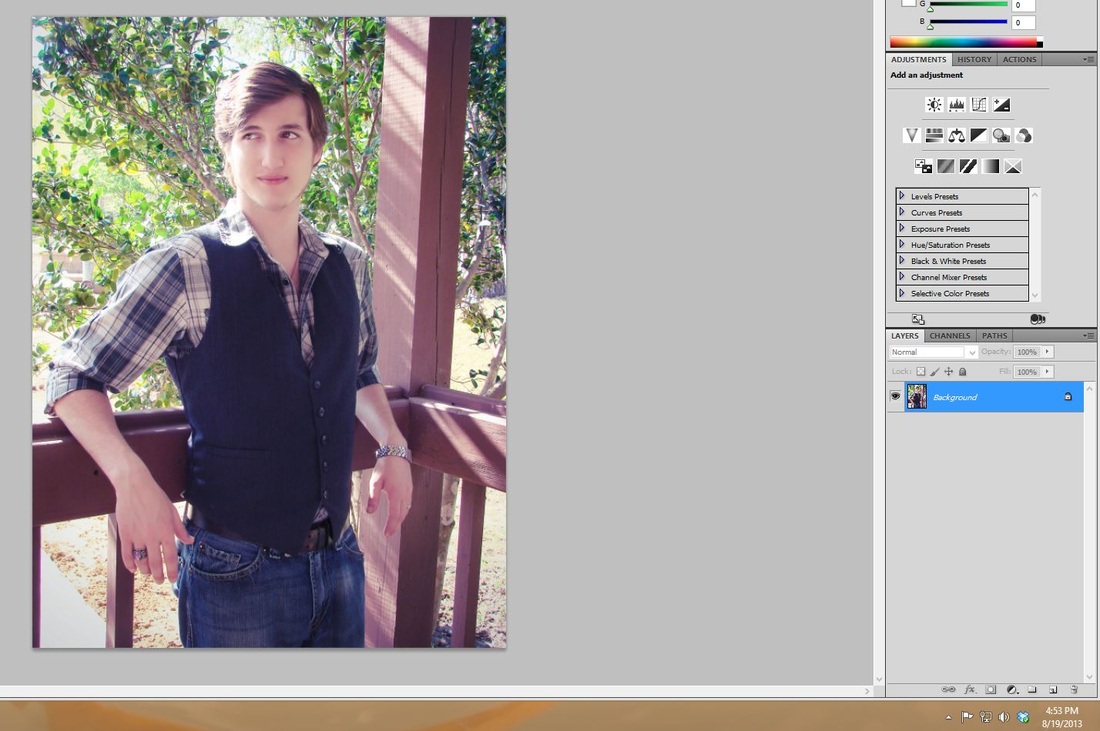
And then the final step, the watermark.
Now that image alone took nearly fifty minutes! Did you know that that is how much goes into an image?!
Next time you think, gosh that photographer is charging a lot of money for just one hour of pictures, think about how much work goes into those pictures behind-the-scenes. That was one image and many clients expect anywhere from 20 to 100! I'm not going to do the math but if I did a bridal session for $100 and gave that bride 40 images, can you imagine the amount I got paid per hour?! So do your photographer a favor, don't request her/him to go back and re-edit, un-crop, or change their final work. It took them a long time to get there, and it comes off as rude or unappreciative.
Well, I hope this blog post, helps to explain a little of what I and other photographers do after they see you from behind the lens. I've enjoyed giving you a little behind-the-scenes look at my post-processing.
-Amy
Well, I hope this blog post, helps to explain a little of what I and other photographers do after they see you from behind the lens. I've enjoyed giving you a little behind-the-scenes look at my post-processing.
-Amy
 RSS Feed
